8.22.2012

Dinner for one


I have been home alone for a couple of days. I am pretty bad at being alone with myself. I like me, don't get me wrong, but when it comes to entertain myself, I am not enough.- It's not me, it's myself, I need something else, I understand, right?- Yes. -OK. (See? Not good at being alone). Fortunately my sister is coming today to take me away from this crazy solitude.

One of the things that I'm bad at when I'm alone is eating. I tend to skip lunch, and then I get super hungry and I start going to the fridge to snack trying to deceive my stomach until dinner. Yesterday was no exception. I spent all day cleaning and doing laundry like a crazy person, and I forgot to eat lunch. When I finished the chores I decided that I was going to eat dinner like a normal person, or actually, like two normal persons, because I was very very hungry. So I found this recipe and 3 perfect reasons to make it: 1) it looked yummy; 2) I had chicken in the freezer and parsley in a glass of water; 3) I wanted to use our new food processor and I hate hate hate chopping parsley by hand.


The trick of putting the parsley in a glass of water is something that I have learnt from my mom and my grandma. It's a great idea! It stays fresh for about 2 weeks. Another way to keep fresh parsley that my grandma recently showed me is to freeze it in a tupperware once chopped. The food processor worked great for chopping the parsley, a process that lasted exactly 5 seconds. I was so amazed. Goodbye chopping parsley with a knife!


The recipe did not disappoint. On the contrary, it was delicious. Although it calls for one hour and fifteen minutes of braising, I only cooked it for 45 minutes. Scott always accuses me of cutting down cooking times, but this time I was about to starve so I couldn't help it. 

Finally, I got my meal of the day in company of these pretty roses. I don't like eating alone.


Braised chicken with parsley and capers
Adapted from Bon Appétite, Serves 1

1 small onion, finely chopped
2-3 chicken thighs, or drumsticks, or combination
1/4 cup (4 tbsp) chopped parsley
2  tbsp capers, rinsed
1 1/2 cups (350 ml) chicken stock
1/4 cup (60 ml) white wine vinegar
Olive oil, salt and pepper

Heat 2 tablespoons of olive oil in a heavy skillet over medium heat. Add onion; cook, stirring often, until softened, about 4 minutes. Transfer onion to a bowl. 

Add more oil to the skillet and increase heat to medium-high. Season chicken with salt. Add chicken to skillet and cook, turning once, until golden brown on both sides, about 10 minutes. Transfer chicken to a plate.

Add reserved onion, parsley and capers to skillet and cook for 1 minute. Add chicken stock, vinegar and chicken with juices. Reduce heat to medium-low, cover and simmer until meat is tender and falling off the bone, about 1 1/4 hours (or 45 minutes if you can't wait). Transfer chicken to a plate. Season sauce with salt and pepper and spoon over the chicken. Eat, alone or not. 

Note: For 2 servings, just add more chicken. For 4 servings, double the stock, the vinegar, the parsley, the onion and the capers. 

8.20.2012

A soup that is on a diet

I was thinking about starting this post apologizing for having almost abandoned you in the past couple months. I wanted to explain to you why I have been missing and tell you that I'm going to be better at writing in spoonglish from now on. But I'm not going to do that. Whatever, right? It's not like you care that much.


Instead, I'm just going to write about this AMAZING tomato soup. It's from the book Essentials of French Cooking, from Williams-Sonoma. The pictures of this book are so mouthwatering that you want to make everything that is in it. However, when you start making the recipes, the pictures are only there to tell you that your version doesn't look nearly as good. But who cares about looks, right? Beauty is inside, and in this case, inside a soup bowl with a puff pastry cover. 


My favorite thing about this recipe is the flavor added by the fresh thyme. It makes it different from most tomato soups and so delicious. I also love the idea of the puff pastry on top. It makes it look like a mushroom and then it's so good to eat it breaking the pastry into the soup and eating it all together. 

What I did not find so compelling was the 4 cups of heavy cream that the recipe calls for. Four cups! That's when the eternal question comes again: why aren't french people fat?  I decided to make this soup be on a diet and halve the amount of cream, because I prefer to have more tomato flavor and less regret. 


Although this might seem like a pretty wintery dish, now is when tomatoes are at their best, so now it's when you want to make this. Here is the adapted recipe:


Tomato soup with puff pastry
Serves 4-6. Adapted from Essentials of French Cooking, Williams-Sonoma

2 lb (1 kg) ripe tomatoes
1/2 cup (125 g) unsalted butter
1 small or 1/2 big yellow onion, chopped
2 garlic cloves, minced
1 bay leaf
2 teaspoons of minced fresh thyme
2 cups (500 ml) heavy cream
2 sheets of puff pastry
1 large egg beaten with 2 tbsp water

Bring a big saucepan of water to a boil. Score an X on to bottom of each tomato and add them to the boiling water. After 30 seconds take the tomatoes out of the water using a slotted spoon. Peel and quarter the tomatoes. 

In a large saucepan, melt the butter over medium heat. Add the onion and cook until translucent, about 3 minutes. Add the garlic and stir for 1 minute. Reduce the heat to low and add the tomatoes, bay leaf, thyme, salt and pepper. Cook, stirring often, until the tomatoes are soft, about 20 minutes. Discard the bay leaf.

Working in batches in a blender, or using an immersion blender, puree the tomato mixture until smooth. Strain through a fine-mesh sieve and return to pan. Stir in the cream and bring to a simmer over medium heat. Remover from heat.

Preheat the oven at 400°F (200°C). Roll out the puff pastry until 1/4 inch (6 mm) thick and cut rounds that are slightly larger than the diameter of an ovenproof bowl. Place the soup bowls on a baking sheet and ladle the soup into the bowls. Place the pastry rounds on top of each bowl and pull the edges tight. Brush the pastry with the egg wash. Bake until the pastry is puffed and golden, about 15 minutes. Serve immediately. 

8.01.2012

Americanizing myself


It has been a year since I moved to America. It was summer (obviously) and Scott and I had huge fights about the air conditioning all the time. He, as a good American, wanted to have the air conditioning on all the time so the apartment was constantly at 67º F. I, as a good Spaniard, hated the AC and wanted to turn it on only if the temperature went over 80º F. In Spain, summer is supposed to be hot and most people believe that air conditioning is not good for you. That's just the way it is. But now, a year after, America has won the battle. We never fight about the AC anymore, and it's always on. When my friend Almu visited us from Spain, she didn't stop complaining about the Air Conditioning in restaurants, the metro, the stores and...our apartment! I realized that I now love the AC and that going from a 100º F street to a 68º F store is like going from hell to heaven. 

Now I am in Spain, and I can't get used to not having air conditioning. The heat keeps me up at night and sweaty during the day. It makes me be in the mood of notdoinganything, and that includes cooking and blogging. Also, I am at my mom's, so why would I cook? However, people ask me why I haven't been blogging recently, so I decided to finish this post, which I started to write about 3 weeks ago, after making delicious peach tart for the first time.

Since I saw Amanda Hesser's peach tart recipe last winter I had been wanting to make it. However, I had to wait for the summer to come and sweet afordable peaches to arrive to the grocery store. Finally, last week about 3 weeks ago, the wait finished.

I used white peaches the first time, the one you can see in the pictures. The second time I made it I used yellow peaches. It's delicious with both as long as they are ripe.The first time the crust was too thin, so the second time I doubled the recipe (thanks Lisa) and used enough to get the desired thickness. 


Peach tart
Adapted from Amanda Hesser, Food 52. Serves 8.

For this tart I used a 11 inch (27 cm) diameter removable bottom tart pan.

3 cups (380 g) plus 2 tablespoons all-purpose flour
1 1/4 teaspoons kosher salt
3/4 cups (150 g) plus 2 teaspoon sugar
1/2 cup (120 ml) vegetable or canola oil
1/2 cup (120 ml) mild olive oil
4 tablespoons whole milk
1 teaspoon almond extract
2 tablespoons cold, unsalted butter
4 small ripe peaches, pitted and thickly sliced (about 1/2-inch (1 cm) wide)
1 handful of chopped bleached almonds

Heat the oven to 425º F (220º C).
In a mixing bowl, stir together 3 cups (380 g) flour, 1 teaspoon salt and 2 teaspoon sugar. Stirring enables the salt and sugar to sift the flour, so you don’t need to sift it in advance.

In a small bowl, whisk together the oils, milk and almond extract. Pour this mixture into the flour mixture and mix gently with a fork, just enough to dampen; do not over work it. Then, transfer the dough to an 11-inch tart pan, and use your hands to pat out the dough so it covers the bottom of the pan, pushing it up the sides to meet the edge. It should be about 1/ 8-inch thick all around. Trim and discard excess dough. 

In a bowl, combine 3/4 cup sugar, 2 tablespoons flour, 1/4 teaspoon salt and 2 tablespoons butter. (If your peaches are especially juicy, add 1 tablespoon additional flour.) Using your fingers, pinch the butter into the dry ingredients until crumbly, with a mixture of fine granules and tiny pebbles. 

Starting on the outside, arrange the peaches overlapping in a concentric circle over the pastry. Fill in the center in whatever pattern makes sense. The peaches should fit snugly. Sprinkle the pebbly butter mixture over top (it will seem like a lot). Sprinkle the almonds. Bake for 35 to 45 minutes, until shiny, thick bubbles begin enveloping the fruit and the crust is slightly brown. Cool on a rack. Serve warm or room temperature. It is delicious with vanilla ice cream.


7.02.2012

A fall cake for a summer birthday


I know, its been ages since I last posted. First there were too many things going on and I didn't have time to post, and then an amazing two week vacation in Italy happened. But stop worrying, in case you were worrying, because I am back and I have plenty of recipes to talk about.

Let's start from the beginning. Scott's birthday was on June 5th (almost a month ago). I don't know how it is in your family, but in my family, and in his family, if it's your birthday you get to choose the dinner menu. He chose a bunch of things I am not going to write about now: truffle bacon mac and cheese, fried rice, sweet-sour pork and bl-tomatoes. Three out of the four have bacon in it. The weekend after his birthday we celebrated it with friends and I made a cake that he also chose: bourbon pumpkin cheesecake. This cake is anything but summery. The color, the ingredients and the flavor make the most fall-like cake you can think of. I wanted to make a layer chocolate and raspberry cake, or a blueberry and lemon cake, but if it's your birthday you choose and this is what Scott chose.


Bourbon Pumpkin Cheesecake
Adapted from Gourmet, November 2003, via smitten kitchen


For this recipe you need a 9 inch spring form pan. If you don't have one you can use a regular cake pan, but you won't be able to present it so pretty. If you only have a bigger pan, increase the amount of crackers and butter or the crust will be too thin. Everything else can remain the same, but the whole cake will be thinner.

For the crust
3/4 cup (75 g) graham cracker crumbs (from five 4 3/4- by 2 1/4-inch crackers)
1/2 cup (69 g) pecans, finely chopped
1/4 cup (35 g) packed light brown sugar
1/4 cup (45 g) granulated sugar
1/2 stick (60 g) unsalted butter, melted and cooled

For the filling
1 1/2 cups (350 g) canned solid-pack pumpkin
3 large eggs
1/2 cup (70 g) packed light brown sugar
2 tablespoons heavy cream
1 teaspoon vanilla
1 tablespoon bourbon liqueur or bourbon (optional)
1/2 cup (90 g) granulated sugar
1 tablespoon cornstarch
1 1/2 teaspoons cinnamon
1/2 teaspoon freshly grated nutmeg
1/2 teaspoon ground ginger
1/2 teaspoon salt
3 packages (24 oz / 680 g) cream cheese, at room temperature

For the topping:
2 cups (500 g) sour cream
2 tablespoons granulated sugar
1 tablespoon bourbon liqueur or bourbon (optional)
Pecan halves for garnish

Make crust:
Stir together cracker crumbs, pecans, sugars, and butter in a bowl until combined well. Press crumb mixture evenly onto bottom and 1/2 inch up side of a buttered 9-inch spring form pan, then chill crust, 1 hour.

Make filling and bake cheesecake: 
Put oven rack in middle position and preheat oven to 350°F.

Whisk together pumpkin, eggs, brown sugar, cream, vanilla, and liqueur in a bowl until combined. 

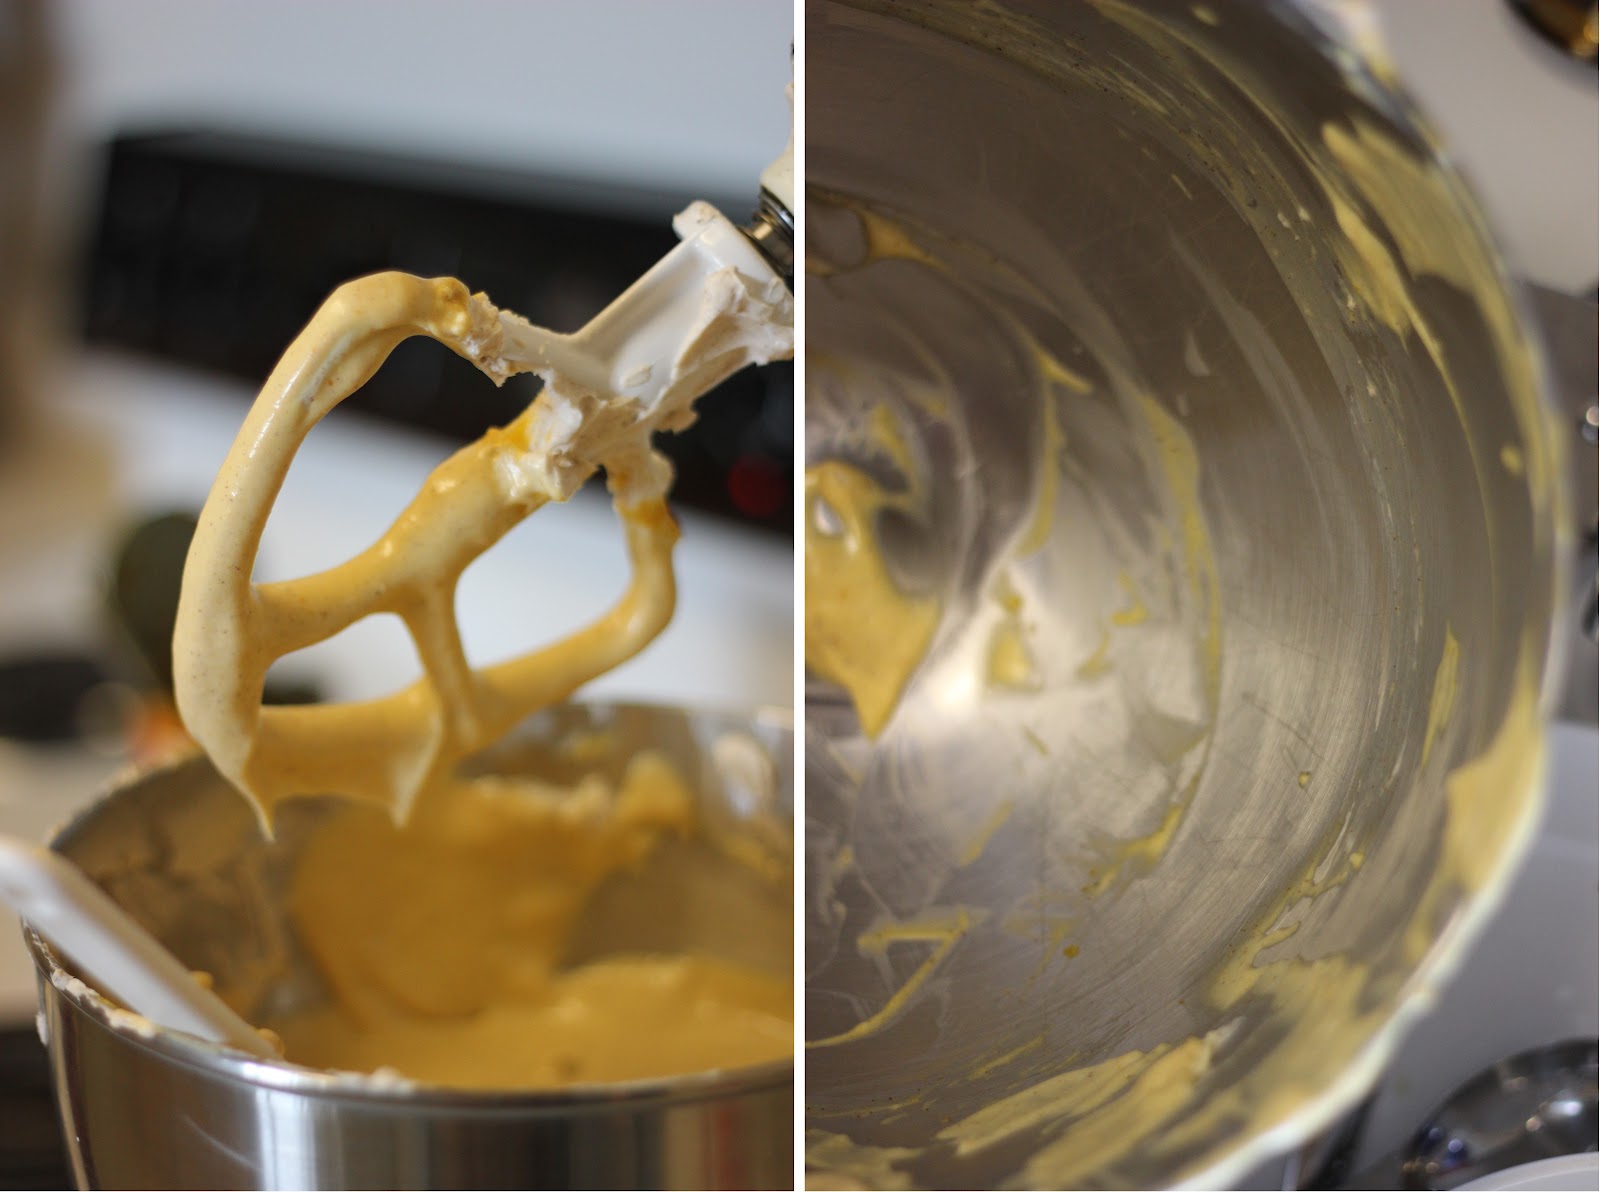
Stir together granulated sugar, cornstarch, cinnamon, nutmeg, ginger, and salt in large bowl. Add cream cheese and beat with an electric mixer at high speed until creamy and smooth, about 3 minutes. Reduce speed to medium, then add pumpkin mixture and beat until smooth.

Pour filling into crust, smoothing top, then put springform pan in a shallow baking pan (in case springform leaks). Bake until center is just set, 50 to 60 minutes. Transfer to rack and cool 5 minutes. (Leave oven on.)

Make topping:
Whisk together sour cream, sugar, and liqueur (if using) in a bowl, then spread on top of cheesecake and bake 5 additional minutes. Arrange pecan halves on top of the cake. Cool cheesecake completely in pan on rack, about 3 hours.

Chill, covered, until cold, at least 4 hours. Remove side of pan and bring to room temperature before serving.


6.01.2012

Summer flavor


Not having to wear socks for 4 months, flip flops, summer dresses, ice cream, pools, sun, the beach, barbecues, tanning, going out at night without a coat. In case you haven't noticed, I am talking about the summer. I am talking about why the summer is my very favorite time of the year. And I am talking about that because, finally, the summer has arrived!

Last weekend we went away and experienced the beginning of the hot season first hand with a good dose of beach, friends, ice cream, grilling, playing in the sun, and mosquito bites (that's not one of my favorite summer things). We went to Chincoteague Island (Chincowhat?), a beautiful retreat in Virginia, and we happened to rent the most amazing house just by the water.


But now we are back to our tiny apartment on the 22nd floor, without an ocean view, looking at rooftops and surviving thanks to the AC. I really had to make something to get that nice feeling of summer back, and so I did. I made Salmorejo.

Salmorejo is a very typical Spanish cold tomato soup. -Gazpacho?-You ask. No, Gazpacho is Salmorejo's little brother. Salmorejo is the fatty version of gazpacho. The flavor and the texture are a little different, as gazpacho has more vegetables, less oil and less bread than salmorejo . While gazpacho is more liquid, more acidic and more refreshing, salmorejo is thicker, creamier, tastier and much heavier. Gazpacho is usually garnished with cubed tomatoes and cucumbers. Salmorejo is garnished with croutons, cured ham and hard boiled egg. While eating a bowl of gazpacho always makes you want more, eating a bowl of salmorejo makes you not want to eat more in a week. You get it, right?

Salmorejo makes me think of summer. It reminds me of the beach of Cadiz, where I spent many summers of my life.

What foods bring YOU summer memories?


Salmorejo
Serves 4

The important thing here is to use very ripe and flavorful tomatoes. Plum tomatoes are good for this, and tomatoes on the vine are also fine if they are ripe. I usually don't peel the tomatoes because I have a very powerful blender, but if you don't or you find that the skin is too thick, peeling them should be better. Salmorejo should be thick and the thickness will depend on the amount of water in the tomatoes. If you find it not thick enough, add more bread. If you find it too thick, just add water. 

For the salmorejo
2lb (1kg) ripe tomatoes
2 garlic cloves, peeled
3 slices white bread
1/2 cup (8 tbsp, 120ml) extra virgin olive oil
1 1/2 tsp salt
1 tbsp cider vinegar

For the garnish
2 tbsp chopped serrano ham or prociutto
1 egg, hard boiled, chopped
Croutons

To peel the tomatoes, boil water in a medium sauce pan. Score the bottom of each tomato with a cross and put in the boiling water, in batches, for 30 seconds. After this process the skin becomes lose and really easy to remove. 

Peel and quarter the tomatoes, and put them in the blender. Add the garlic cloves. Soak the bread in water and squeeze it with your hands. Add the bread to the blender. Puree until smooth, about 3 minutes (it will depend on the blender, but the soup should be smooth with no lumps). Open the blender and add the oil, salt and vinegar. Close the blender and mix for 10 more seconds. Pour the soup in a bowl and refrigerate for at least 2 hours.

Serve the salmorejo in soup bowls and sprinkle with some serrano ham, hard boiled egg and croutons. Drizzle with olive oil.

5.22.2012

I have a motto, or two...


"If you don't get it right the first time, try again."- That's my motto. Well, not really, but it was yesterday when my first attempt to make cream puffs turned into a complete failure. Another possible motto can be: "If you add one extra egg, the result will be bad". That's what happened, I added one extra egg because the recipe said 6 eggs. Apparently one was for the egg wash, though I didn't realize this until I had to make the egg wash. Fail. 

So there came the second attempt and the pride of having persevered and succeeded, followed by the regret of having eaten too many of them knowing that they have a whole stick of butter and a lot of heavy cream. Oh well...


I used a different recipe the second time because I got mad at the Bon Appétit recipe for not specifying in the ingredients that one of the eggs was for the egg wash. So I used the recipe from Su, of the blog webos fritos, which was actually pretty similar to the Bon Appétit one but a little simpler. And you know my motto: "The simpler, the better".

A few tips from an expert, a.k.a. myself  (two attempts in one day make me quite an expert). Make this. It's totally worth it and super easy (if you read the instructions right). The texture and the flavor are delicious and as good as any professional cream puffs. If your family is not big enough to eat about 20 cream puffs in one or two days, you can always take them to work; you will make your coworkers very happy. If you don't like your coworkers and you don't want to make them happy, then you can just bake the puffs that you are going to eat and freeze the rest for next time. Awesome, right?


Cream puffs
Makes about 20, adapted from webos fritos

For this recipe you need patry bags and tips. If you don't have them, you can use a resealable or freezer plastic bag as a pastry bag, cutting one corner. The result will be less pretty, but it should work.

7 tbsp/ 100g unsalted butter
1/2 cup /125ml water
1/2 cup / 125ml milk
1 1/2 tsp / 5g granulated sugar
1/2 tsp salt
1 1/4 cups /160g sifted all purpose flour
4 large eggs
1 cup / 250 ml heavy whipping cream
2 tbsp powder sugar plus more for dusting

Preheat the oven to 350°F / 180°C.
In a medium sauce pan put the butter, water, milk, salt and sugar and bring to a boil over medium heat. Remove from heat and add the flour at once. Stir vigorously until the flour is integrated. Return to heat and keep stirring until the dough becomes glossy, about 1 or 2 minutes.

Transfer dough to a bowl. Add one egg and stir until fully incorporated. Add 3 more eggs, one at a time, stirring until fully incorporated before adding the next one. The final dough should be thick, smooth and glossy.

Line a baking sheet with parchment paper. Spoon the dough into a pastry bag with a wide plain tip. Pipe out 10 puffs onto the prepared baking sheet 1.5 inches apart from each other (*).  Bake in the center of the oven for 30 minutes. Cool over a wired rack. Pipe out the rest of the puffs and bake like the first batch. When the puffs are still warm, cut them open in the center using a serrated knife. 

Beat the cream with the powder sugar until stiff picks form. Use a pastry bag with an open star tip to fill the puffs with the cream. Using a fine mesh sieve, sprinkle with powdered sugar.

(*) You can freeze the puffs that you are not planning to bake. To do that, freeze the puffs on the baking sheet and once they are frozen transfer them to a plastic bag. When you are ready to bake them, place them on a parchment lined baking sheet and bake as directed ( do not defrost).


5.20.2012

Arlington's Farmers Market

No recipe today, just some pictures of the Arlington's farmers market. Happy Sunday!


5.17.2012

Homesick cake

Yesterday I made my mom's lemon cake. This cake used to be a regular in her pantry. She would make it and we would eat it for breakfast everyday. When we finished it, she made another one. If I was at home when she put it in the oven, I just couldn't wait for it to finish baking to have a piece. It smelled so delicious and it's so good when still warm.

Having my parents over for the weekend made me a little homesick. I thought that this cake would give our little apartment the smell of home, and that was just what I needed. However, when I was gathering the ingredients I realized that I didn't have lemon yogurt. I didn't even have plain yogurt. The only yogurt I had was a blueberry yogurt. I looked at it and then thought, why not? So I transformed my mother's lemon cake into a blueberry cake. It wasn't better, but it was very good too. Next time I will make it with less sugar, as blueberry yogurt is sweeter than lemon yogurt. Another possibility is to make it with plain yogurt and add some lemon juice and lemon zest to it.


Breakfast cake

3 eggs
3/4 cup / 170g sugar
1/3 cup / 80g vegetable oil
4oz (a normal small container) of blueberry yogurt (or lemon yogurt for lemon cake)
1 1/3 cups / 170g all purpose flour
1 pinch salt
4 tsp / 16g baking powder

Preheat the oven to 350°F / 180°C.
In a big bowl whisk the eggs and the sugar until fluffy. Add the oil and the yogurt and stir until incorporated. 

In another bowl shift the flour. Add the salt and baking powder and whisk. Slowly add the dry mixture to the wet mixture, mixing until just incorporated.

Bake for 30 minutes or until a toothpick inserted in the center of the cake comes out clean. Leave it in the oven with the door open for 5 minutes. Let it cool over a wired rack. Serve warm or cold.

5.15.2012

Eat your veggies!


Last weekend my family visited from Spain. My parents and their best friends, M&MT, came from Madrid to see us and the American capital. It was a great weekend of walking around DC, speaking Spanish, seeing museums, eating at great restaurants and enjoying the company. The weather could not have been better.

Yesterday, back to normal life, I realized that I had been eating out all weekend and that veggies had not been part of the menu. I'm a fruit and vegetable addict, and I was already feeling the withdrawal. Luckily, my mom bought me some veggies and some chicken at Eastern Market on Sunday, so making a healthy dinner was easy peasy.

This recipe doesn't have to be strictly followed. You can adapt it to your needs and taste as much as you want. You can substitute any of the veggies for others like butternut squash, yellow squash, green or red peppers. You can also change the quantities and you can't really go wrong with it. For the chicken, same thing. I made it with boneless skinless chicken thighs, but you can make it with bone-in thighs, breasts, drumsticks or whatever your favorite part of the chicken is. 


Pan seared chicken with ratatouille
Serves 4

For the ratatouille:
1/3 cup olive oil
1 onion, coarsely chopped
1 yellow bell pepper, diced
2 small zucchinis, diced
1 small eggplant, peeled, diced
1 14oz can of diced tomatoes, drained.
2 tbsp sugar
1/2 tsp herbes de provence

For the chicken:
4 tbsp olive oil
8 chicken thighs (I used boneless skinless)

Heat 1/4 cup of olive oil in a heavy deep skillet. Add the onion and cook over medium heat, stirring often, for 2 minutes. Stir in the pepper and let it cook for 5 minutes. Add the zucchini and the eggplant and cook, stirring often, for 5 minutes. Stir in the diced tomatoes and the sugar.  Season to taste with salt and pepper and add the spices. Cook, stirring often, until desired doneness, for about 20 to 30 minutes. Meanwhile make the chicken.

Preheat the oven to 450°F/ 230°C. Season the chicken with salt and pepper on both sides. Heat 4 tablespoons of olive oil in a frying pan and sear the chicken over medium-high heat, 2 minutes on each side. Transfer the chicken to a roasting pan. Roast in the oven for 15 minutes or until desired doneness.

Serve the chicken over a bed of ratatouille.

5.11.2012

The sushi burger


Make some room in your calendars because this burger is not an elective. I would say that it's a mandatory recipe for anyone who enjoys cooking. Although I didn't make up this recipe, I decided to call it sushi burger. Oh yeah! Japanese-American fusion. Call me Ferran Adria. Actually, don't.

Why did I call it sushi burger? Well, I didn't burn my brain for this one, it's pretty obvious. Because it's a tuna burger and it has wasabi, ginger, cucumber, avocado and sesame seeds (on the bread). The only missing ingredient is rice (not that rice is important in sushi at all...) Anyway, it's my burger and I decide how to call it. Well, it isn't my burger, but I decided to rename it anyway.

I'm super proud of the sushi burger. I had been thinking for weeks trying to find a recipe to use a huge tuna steak that had been sitting in the freezer for a while. Finally, I was able to sleep well. I had also been wanting to make these burger buns from smitten kitchen, so this was just the perfect occasion. Yay happiness!


To be honest, it took a long time to make this. The night before I took the tuna out of the freezer and put it in the fridge. In the morning I made the dough for the buns, which is a light brioche dough. There is nothing like working with a buttery dough because it smells awesome and it doesn't stick when you knead it. I put the dough in the fridge and I left for work (yes, I work, sometimes). In the evening I got home and I shaped the dough into balls. I went to the store and bought the ingredients I needed. I came back and preheated the oven. Then I chopped the tuna, the scallions and grated the ginger to make the burgers. I put the bread in the oven. I made the wasabi mayo and I cut the cucumber and the avocado. I took the bread out of the oven. I cooked the burgers. During the whole process I took multiple photos (except when making the burgers. Sorry, I forgot). Then we put everything together and we ate 2 burgers each.

Friends, when I had the first bite, I realized that all the work had been totally worth it. Trust me, this is not a regular burger. It's a burger made with quality tuna, sushi-inspired ingredients and a home made brioche roll. Plus you are not going to find this at any American or Japanese restaurant.

What if I don't have so much time?- you ask.- Then buy burger buns at the store.

What if I don't have tuna in my freezer?- Then you must be weird. Just kidding, just go buy some tuna.

What if I still don't have enough time?- Then buy a plane ticket to DC and I'll make them for you!

What if I don't have the money for the ticket? -Then go to McDonald's and stop asking so many questions.


Sushi burger
Makes 4. Adapted from Merrill of Food52.

1lb / 500 g good quality tuna
4 scallions, chopped
1tbsp grated ginger
1 egg, beaten
1/2 cucumber
1/2 avocado
1 box alfalfa sprouts
1/2 cup/ 100ml mayonnaise
1 tbsp wasabi
1tbsp chopped pickled ginger
4 burger buns (see recipe below) 

Finely chop the tuna, almost like if was ground meat. Put it in a big bowl. Add the chopped scallions and grated ginger. Season with salt and pepper. Add the egg and mix everything. Shape the mixture into 4 hamburgers and put them on a tray. Cover with plastic wrap and refrigerate for 5 minutes.

Meanwhile, mix the mayonnaise, the wasabi and the chopped picked ginger. Refrigerate.

Take the burgers out. Heat a nonstick pan with 3 tablespoons of oil. Fry the burgers, 2 minutes on each side, os less if you like rare tuna (I do).

Peel and slice the avocado. Peel the cucumber and slice it into wide ribbons using a peeler. Serve the burgers in the buns with the wasabi mayo, some slices of cucumber, some slices of avocado and some alfalfa sprouts.


Brioche burger buns
Makes 8. Adapted from smitten kitchen.

1 cup / 230ml  warm water
3tbsp / 45ml warm milk
2 tsp / 6g active dry yeast 
2 1/2 tbsp / 33 g sugar
2 2/3 tbsp / 35g unsalted butter, softened
3cups / 420g bread flour
1/3 cup/ 50 g all purpose flour
1 1/2 tsp / 8 g salt
2 eggs (one for the dough and the other one for brushing egg wash)

In a glass measuring cup combine the water, milk, sugar and yeast. Stir well and let is stand for 5 minutes. Meanwhile beat 1 egg.

In a big bowl combine the flours and salt. Add the butter and mix with your hands, to achieve a crumbled texture. Add the liquid mixture and the egg to the flour mixture and mix with a spatula or a dough scraper. When the flour and liquid are incorporated, cover the bowl with plastic and let it stand for 5 minutes. Scrape the dough onto a floured surface and knead for 8 minutes. Grease a big bowl with butter and put the dough inside. Cover with plastic and refrigerate for 8 hours or overnight. You can also leave it a room temperature for 1 to 2 hours, until doubled in size.

Arrange 2 baking sheets floured with parchment paper. Scrape the dough onto a working surface and divide in 8 equal parts using a sharp knife or a scraper. Flatten each piece and shape it into a ball. Place the balls on the baking sheets, 2 inches apart from each other. Cover loosely with buttered plastic wrap and let them proof for 1 hour.

Put a deep baking pan with water in the lower part of the oven. Preheat the oven to 400°F / 200°C. Beat an egg and brush the buns with it. Sprinkle some sesame seeds over the buns. Bake one tray for 15 minutes in the center of the oven. If they get too dark, cover with foil and lower the temperature a little. Keep baking till the end. Let the buns cool on a wired rack. Bake the second tray.